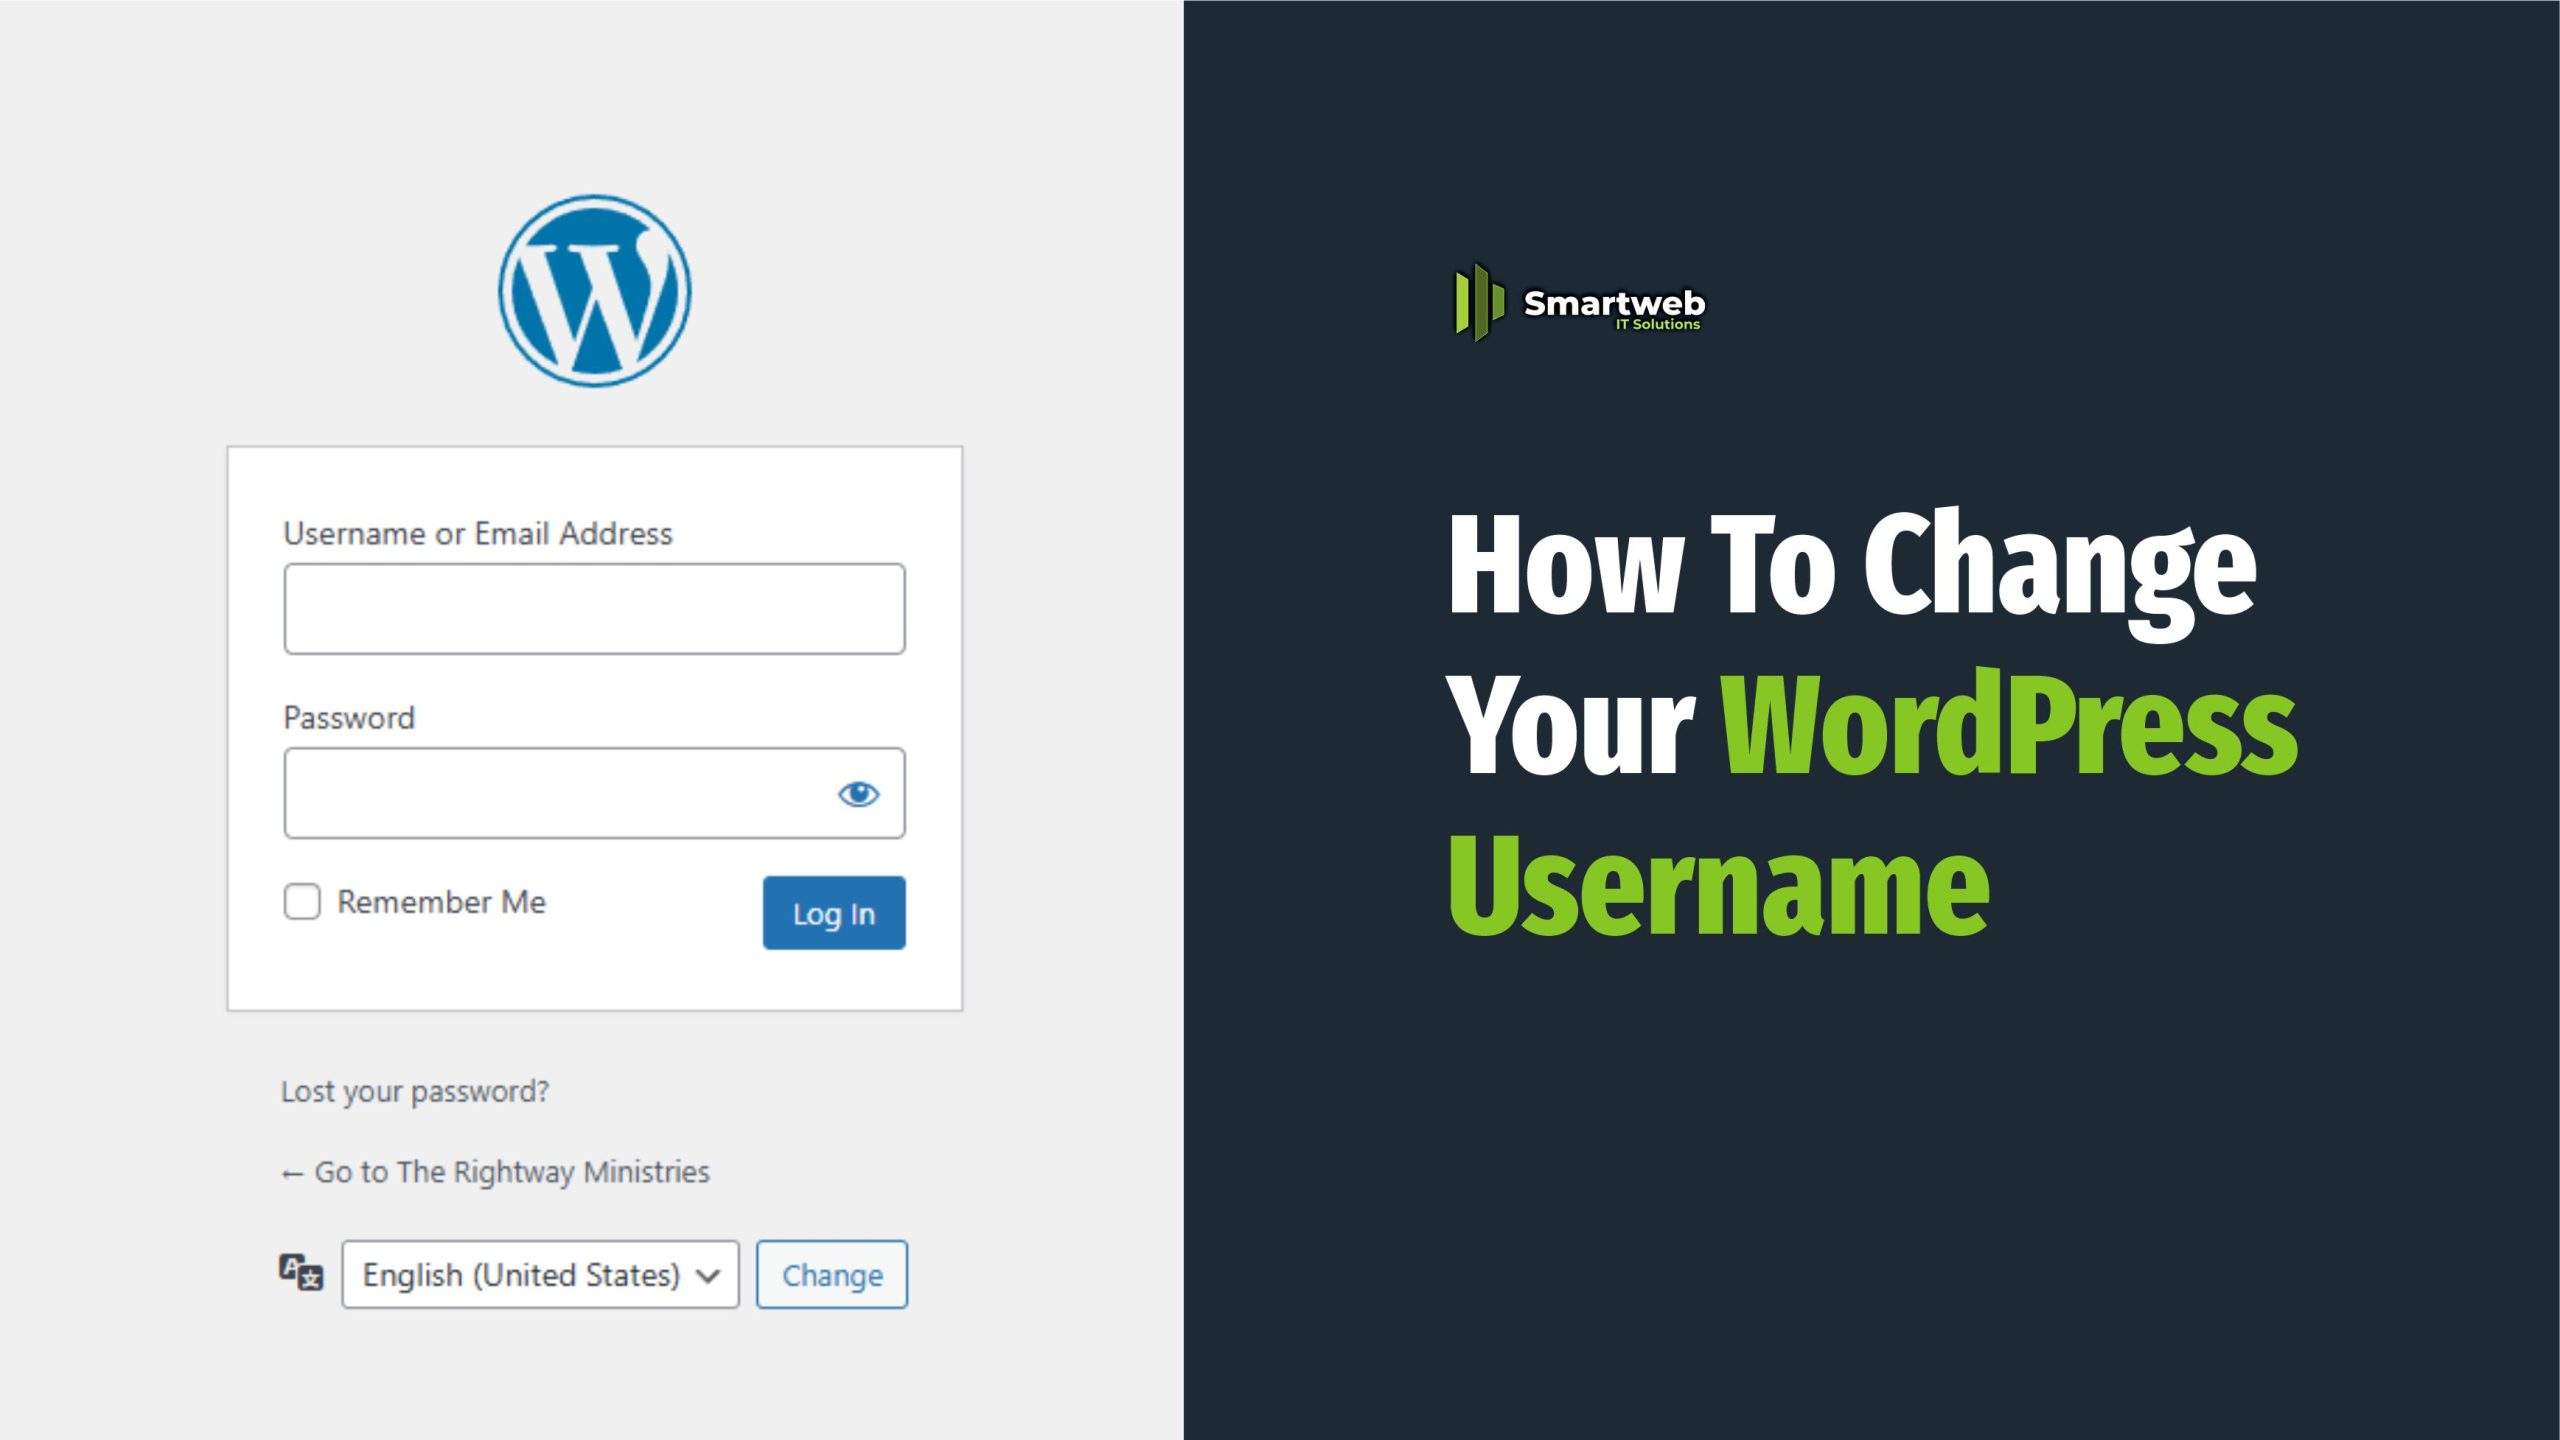
Changing your WordPress username isn’t as straightforward as changing your display name or password, because WordPress doesn’t allow you to directly modify usernames through the dashboard. However, there are a few effective and safe ways to get it done — whether you’re trying to rebrand, increase security, or fix a typo.
Here is a step-by-step guide covering four common methods to change your WordPress username:
Why You Might Want to Change Your Username
Before diving into the how to, here are a few reasons you might want to change your username:
You are using the default username (e.g., “admin”), which is a security risk.
You want to align your username with your brand or real name.
You made a mistake while setting it up.
You want to remove sensitive or personal information.
Method 1: Create a New User and Delete the Old One
This is the easiest and safest method if you don’t want to touch your database or use plugins.
Steps:
Log in to your WordPress dashboard.
Navigate to Users > Add New.
Create a new user with the desired username.
Use a different email address (you can change it back later).
Assign the Administrator role if it’s your main account.
Log out and log in using the new user account.
Go back to Users > All Users, then delete the old username.
During the deletion process, you will be asked:
“What should be done with content owned by this user?”
👉 Choose “Attribute all content to:” and select your new username.Complete the deletion.
Tip:
After deletion, you can update your email in the new profile to the original one.
Method 2: Use a Plugin
If you prefer a more user-friendly way without deleting users or touching the database, you can use a plugin.
Recommended Plugin:
Username Changer – lightweight and easy to use.
Steps:
Install and activate the Username Changer plugin from Plugins > Add New.
Go to Users > Your Profile.
Scroll to the Username section.
Click “Change Username” and enter the new name.
Click “Save Username”.
You’ll be logged out and prompted to log in with the new username.
Method 3: Change Username via phpMyAdmin (Advanced)
For advanced users or developers comfortable with databases, this method works directly in your hosting control panel.
Warning:
Always back up your database before making direct changes.
Steps:
Log in to your hosting control panel (like cPanel or Plesk).
Open phpMyAdmin.

3. Select your WordPress database.
4. Find and open the table: wp_users (prefix may vary).

5. Locate the user you want to modify and click Edit.

6. Change the user_login field to your desired username.

7. Click Go to save the changes.

8. Log in using the new username.
Method 4: Use WP-CLI (For Developers)
If you have SSH access and WP-CLI installed, you can change the username in seconds.
Command:

Replace USER_ID with the user ID or existing username, and newusername with your desired name.
Important Notes
Username vs Display Name: Changing your username does not affect your display name. You can customize how your name appears on posts via Users > Profile > Display name publicly as.
Security Considerations: Avoid using “admin” or your domain name as your username. Choose something unique.
One-time Change: Once changed, usernames can’t be modified again without following the same process.
Though WordPress doesn’t let you change your username directly, there are reliable and safe workarounds to help you update it as needed. Whether you prefer a simple plugin, creating a new user, or editing the database, each method has its own advantages.
Need help choosing the best method for your case? If you are managing multiple users or running a security audit, using the plugin method might be the most efficient. For one-time personal changes, creating a new user is often the easiest.
Watch a video below for detail of it:
