Stay Updated with Critical Notifications from Your Hosting Server
Keeping your contact information up to date in cPanel is essential. Why? Because it allows your hosting server to notify you about important events such as:
Disk space limits
Email quota issues
Account login alerts
SSL expiration notices
Security breaches
In this guide, you’ll learn how to quickly update your contact email address and manage notification preferences inside your cPanel dashboard.
Why It’s Important to Update Your Contact Info
Your hosting provider — and cPanel itself — may send alerts about:
Low disk space or bandwidth usage
Failed login attempts
Domain or SSL certificate expiration
Email delivery failures
Without a valid email address, you might miss crucial alerts that can impact your website’s performance or security.
Step-by-Step: How to Change Contact Info in cPanel
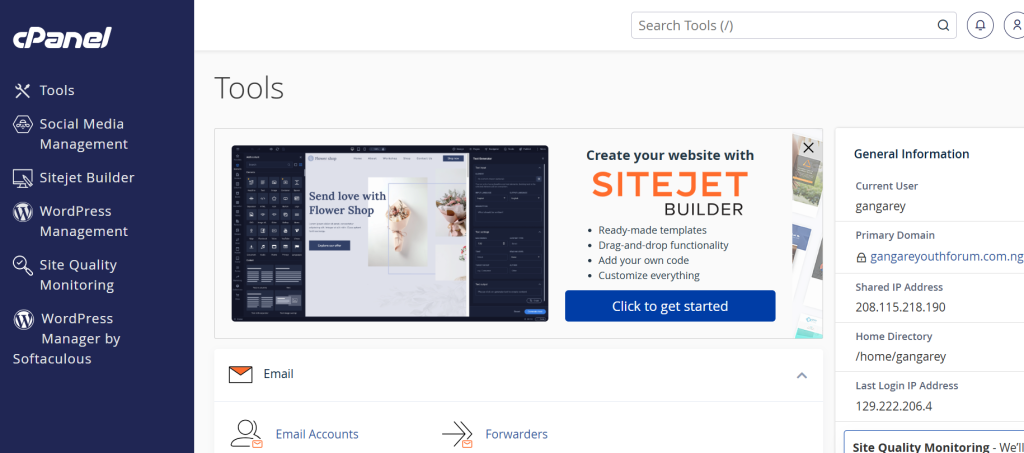
Step 1: Log in to cPanel
Go to your cPanel login page, usually:
https://yourdomain.com/cpanelEnter your username and password.

Step 2: Open the Contact Information Page
Inside the cPanel dashboard, scroll to the Preferences section.
Click on “Contact Information.”

Step 3: Enter or Update Your Email Addresses
In the form that appears, enter your primary email address (where alerts will be sent).
You can also add a secondary email address as backup.
Make sure you’re not using an email address hosted on the same domain (in case of downtime).
Pro Tip: Use a Gmail, Yahoo, or other external address for better reliability.
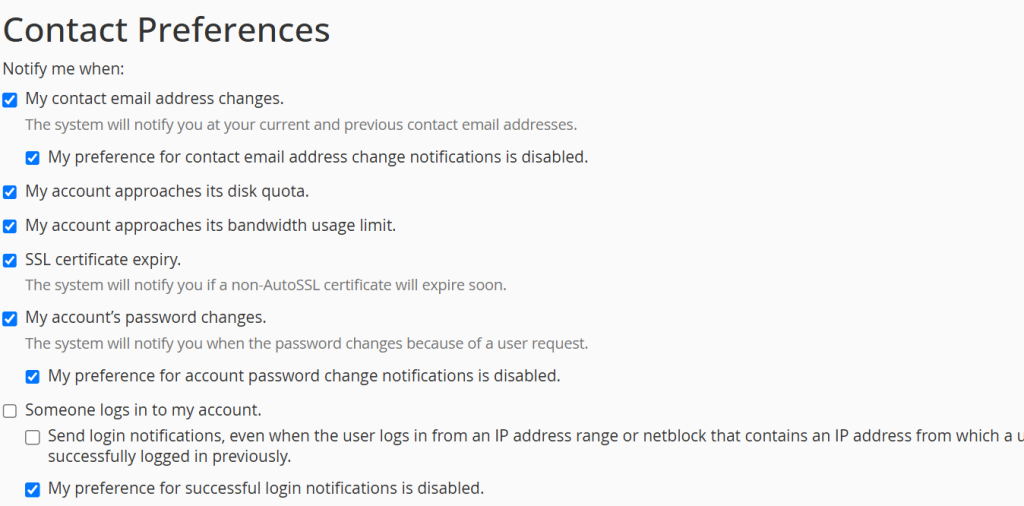
Step 4: Manage Notification Preferences
Below the email fields, you’ll find checkboxes to choose which types of notifications you would like to receive. Options include:
Notify when approaching disk quota
Notify when email account reaches quota
Notify on failed login attempts
Notify on password changes
Notify on SSL certificate issues
Check or uncheck these options based on your preference.

Step 5: Save Changes
After making your changes, click the “Save” button at the bottom of the page.
You’ll see a confirmation message if the update is successful.
Security Tip: Use a Reliable and Monitored Email
Ensure the email addresses you enter are:
Monitored regularly
Accessible at all times
Not tied to your domain (in case your domain goes offline)
This ensures that even if something breaks, you’ll still get alerts.
How to Test if Your Contact Email is Working
While cPanel doesn’t have a “test notification” button, you can:
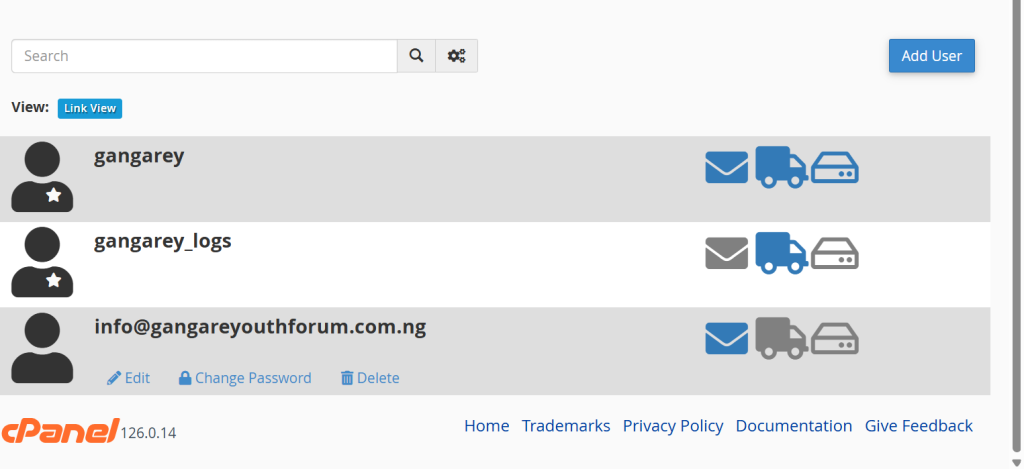
Create a new email address via cPanel > Email Accounts
Intentionally fill your email or disk quota
Trigger a login from a new IP (to test login notifications)
This will help verify that alerts are being sent to your chosen email.
Keeping your contact information updated in cPanel is a simple but essential task. It ensures that you’re the first to know if something goes wrong — or needs attention — on your hosting account.
Set a reminder to review your settings every few months, especially if you change your primary email or hosting usage increases.
