Backing up your website files, emails, and databases is one of the most important routines for keeping your site safe. DirectAdmin makes this process simple with just a few clicks. Follow the steps below:
Step 1: Log in to Your DirectAdmin Account
Visit your DirectAdmin login URL.
Enter your username and password.
Click Login.
Step 2: Go to “Create/Restore Backups”
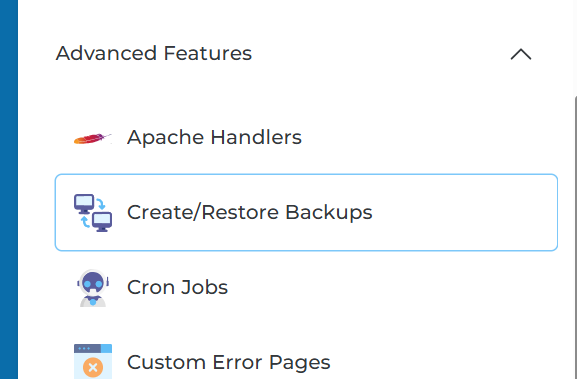
On the main dashboard, scroll down to the Advanced Features section.
Click “Create/Restore Backups.”
This is where all backup options are located.

Step 3: Choose What You Want to Back Up
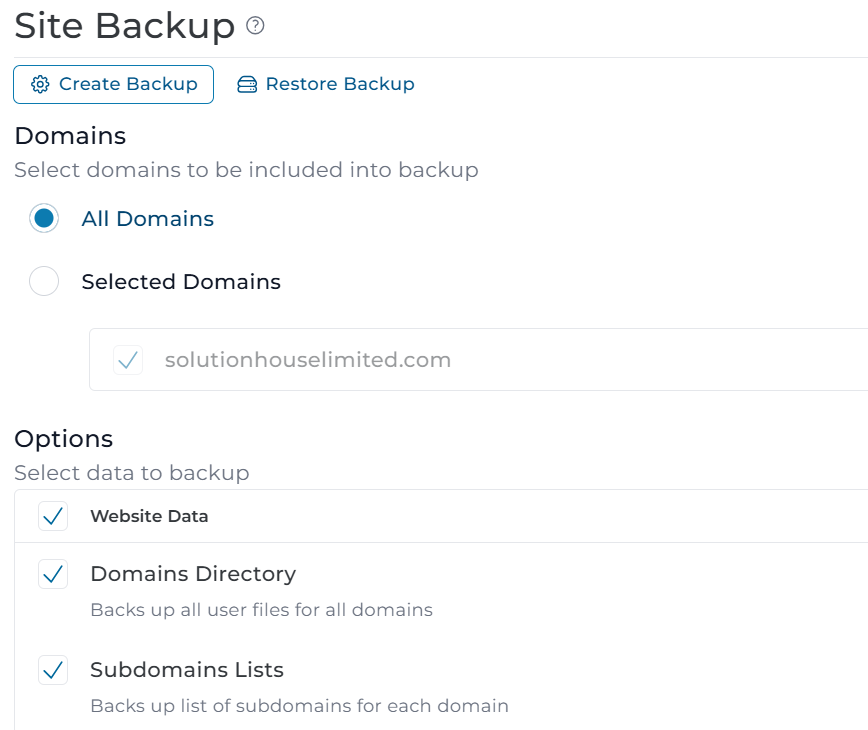
DirectAdmin will show you several checkboxes. Select the items you want to include in your backup:
Website files
Databases (MySQL)
Email accounts & messages
FTP accounts
DNS settings
SSL certificates
If you’re not sure, simply leave everything selected for a full backup.

Step 4: Click “Create Backup”
Scroll down and click Create Backup.
DirectAdmin will start generating your backup.
This may take a few minutes depending on the size of your files.
Step 5: Wait for Confirmation
When the backup is complete:
You will receive a notification message inside DirectAdmin.
Your backup file (usually a .tar.gz file) will be stored in:
/backups or /user_backups
Step 6: Download Your Backup
Go to File Manager.
Open the backups folder.
Select the backup file.
Click Download to save it to your computer.
This ensures you have a local copy in case of emergencies.

Optional: Schedule Automatic Backups
If your hosting provider allows:
Go to Cron Jobs or Admin Backup/Transfer
Set automatic backups (daily, weekly, or monthly).
Choose storage location:
Local server
Remote FTP
Another DirectAdmin server
This keeps your site protected without manual work.
Final Tips
Always save a copy of your backup outside the server.
Create backups before making major changes.
Keep at least 2–3 latest backups for safety.
