DNS (Domain Name System) records play a pivotal role in directing web traffic and managing domain-related services. cPanel, a popular web hosting control panel, provides a user-friendly interface for managing DNS records. In this comprehensive guide, we’ll take you through a step-by-step process of updating DNS records within cPanel to ensure smooth and efficient management of your domain’s functionality.
Understanding DNS Records in cPanel: DNS records serve as a roadmap for directing visitors to your website by mapping domain names to specific IP addresses or configuring various domain-related services such as email servers, subdomains, and more. In cPanel, users can easily update these records to control how their domain functions.
Steps to Update DNS Records in cPanel:
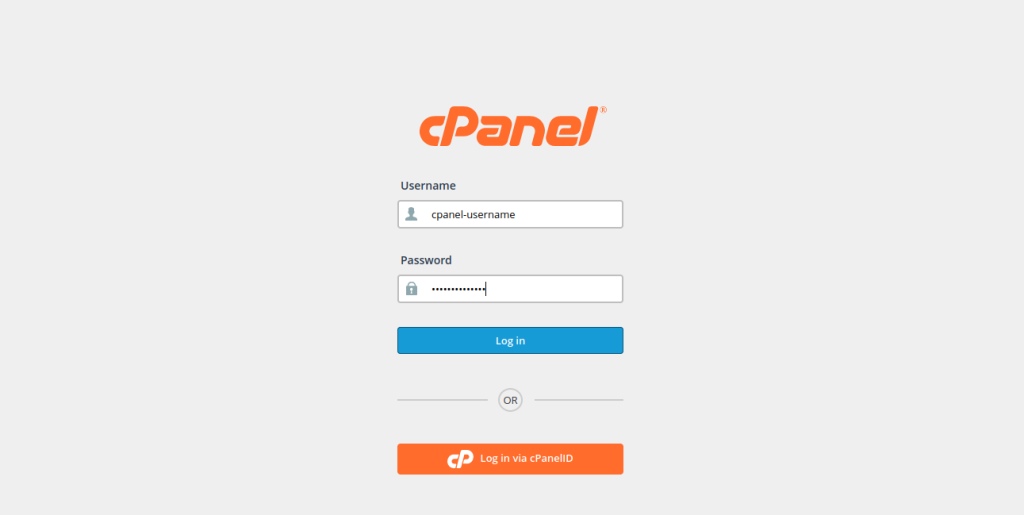
Access cPanel: Open your web browser and log in to your cPanel account using your credentials. E.g., http://example.com/cpanel (replace “example.com” with your domain name).

Locate DNS Zone Editor: Navigate to the “Domains” or “Advanced” section within the cPanel dashboard and select “DNS Zone Editor.”
Choose Domain: If managing multiple domains, select the specific domain for which you want to update the DNS records.

Select Record Type: Click on the “Manage” or “Edit” option next to the record you wish to modify. Common record types include A records, CNAME records, MX records, TXT records, etc.
Edit DNS Records:
A Records: Used to point a domain or subdomain to an IP address. Enter the desired IP address in the “Address” or “Points To” field.

2. CNAME Records: Alias records that point to another domain name. Enter the alias or target domain name in the designated field.
3. MX Records: Manage email servers. Specify the mail server’s hostname or IP address.

4. TXT Records: Used for various purposes like domain verification, SPF records, and more. Enter the text value associated with the record.
Save Changes: After updating the record details, save the changes by clicking “Save” or “Update Record.” However, to add a new record, locate the “Add Record” or “Add DNS Record” button. Select the record type, enter the necessary information, and save.
Update TTL (Time to Live): TTL determines how long DNS information is cached. You may want to adjust this if you’ve made significant changes. However, keep in mind that lowering TTL may increase server load.
Verification and Propagation: Changes to DNS records may take some time to propagate across the internet. Verify the changes using online DNS lookup tools, e.g., https://intodns.com/ or wait for propagation to complete.
Additional Considerations: While editing DNS records, ensure accuracy in the entered information, as incorrect configurations can affect website functionality.
Updating DNS records in cPanel is a straightforward process that enables users to manage their domain’s functionality effectively. By following these step-by-step instructions, users can modify DNS records to align with their website’s requirements, ensuring seamless web traffic routing, email management, and domain-related services. cPanel’s intuitive interface simplifies the management of DNS records, allowing users to customize and adjust their domain’s settings for a desired performance. If you encounter any issues or require further assistance during the DNS record update process, cPanel’s support resources or your hosting provider’s support team can provide guidance and assistance. With the ability to update DNS records efficiently in cPanel, users gain control over their domain’s functionality, facilitating optimal website performance and service configurations.
