DNSSEC (Domain Name System Security Extensions) adds an additional layer of security to your domain name system by enabling cryptographic signatures for DNS data. If you need to restore your DNSSEC keys from a cPanel backup, follow this detailed guide to ensure a smooth and secure restoration process.
1. Understanding DNSSEC and Backups
Before you begin the restoration process, it is important to understand what DNSSEC keys are and why you might need to restore them. DNSSEC keys are used to sign your DNS zones and ensure their authenticity. When you back up your cPanel account, these keys are included in the backup. Restoring these keys is crucial if you migrate your server or encounter data loss.
2. Preparing for Restoration
Step 1: Access cPanel
1. Log in to your cPanel account by visiting `yourdomain.com/cpanel`.
2. Enter your username and password.
Step 2: Locate the Backup
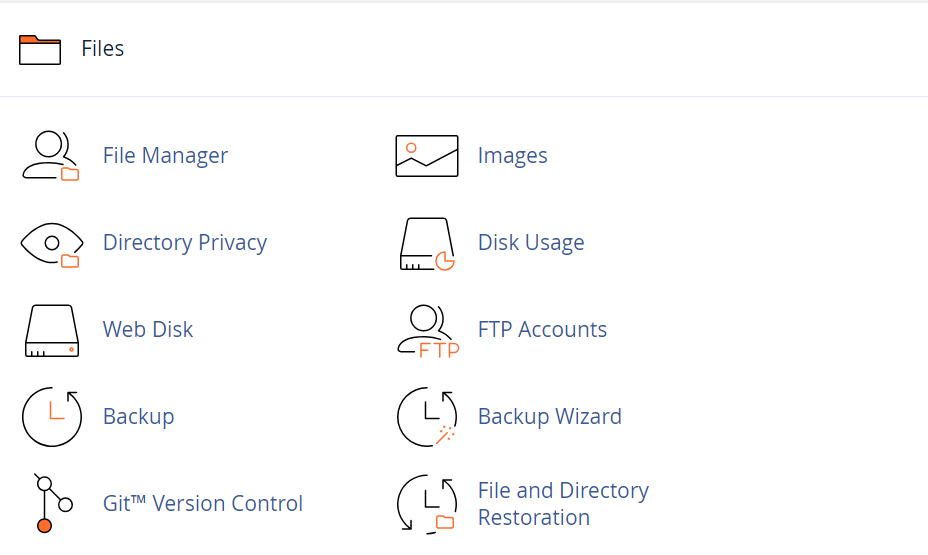
1. In the Files section, click on Backup or Backup Wizard.

2. Download the full account backup if you haven it already. Ensure you have a local copy of the backup file.
3. Extracting the Backup File
1. Locate the downloaded backup file on your computer. It will have a `.tar.gz` extension.

2. Extract the contents of the backup file using a file extraction tool (e.g., WinRAR, 7-Zip, or the built-in extraction tool on macOS or Linux).

3. Navigate to the extracted folder to find the DNSSEC keys. The keys are usually located in the `dnssec` or `var/named` directory.
4. Restoring DNSSEC Keys
Step 1: Access the DNSSEC Keys Directory
1. Open your FTP client or use the cPanel File Manager to navigate to the directory where the DNSSEC keys are stored on your server.
2. The directory path is typically `/var/named` or `/etc/dnssec`.
Step 2: Upload the DNSSEC Keys
1. Upload the extracted DNSSEC key files from your local machine to the corresponding directory on your server.
2. Ensure the file permissions are correct. You can set permissions using the following command in the terminal:
Step 3: Restart the DNS Service
1. After uploading the keys, restart the DNS service to apply the changes. You can do this via the terminal or the cPanel interface.

5. Verifying the Restoration
1. Log in to your cPanel account and navigate to the Advanced Zone Editor or Zone Editor in the Domains section.

2. Check the DNS records to ensure the DNSSEC keys are present and correctly configured.

Using DNSSEC Tools
1. Use DNSSEC validation tools to verify the integrity and functionality of your DNSSEC setup. Online tools like DNSViz (https://dnsviz.net/) or Verisign DNSSEC Analyzer (https://dnssec-analyzer.verisignlabs.com/) can be helpful.
2. Enter your domain name and run a check to confirm that your DNSSEC keys are working correctly.
6. Troubleshooting Common Issues
Missing or Incorrect Keys
– If the keys are missing or incorrect, re-upload the files ensuring they are placed in the correct directory.
– Verify file permissions and ownership. The named service must have the appropriate access to the keys.
DNS Service Fails to Start
– Check the log files for errors. The log files are usually located in `/var/log/messages` or `/var/log/named`.
– Ensure there are no syntax errors in your DNS zone files.
DNSSEC Validation Errors
– Use online DNSSEC validation tools to identify issues.
– Verify that the DS (Delegation Signer) records at your domain registrar match the DNSSEC keys on your server.
Restoring DNSSEC keys from a cPanel backup involves extracting the keys from your backup file, uploading them to your server, and ensuring they are correctly configured and validated. Following the steps outlined in this guide will help you restore your DNSSEC keys efficiently and securely. If you encounter any issues, refer to the cPanel documentation or contact your hosting provider for further assistance. Properly managing and restoring DNSSEC keys is crucial for maintaining the security and integrity of your domain’s DNS records.
