Adding an addon domain typically involves several steps to host multiple websites on a single web hosting account. Here’s a general guideline for adding an addon domain, although the specific steps may vary depending on your web hosting provider’s control panel (e.g., cPanel, Plesk, or custom control panels).
Click here For more information on all you need to know about addon domains
I’ll outline the process using cPanel, which is one of the most widely used control panels:
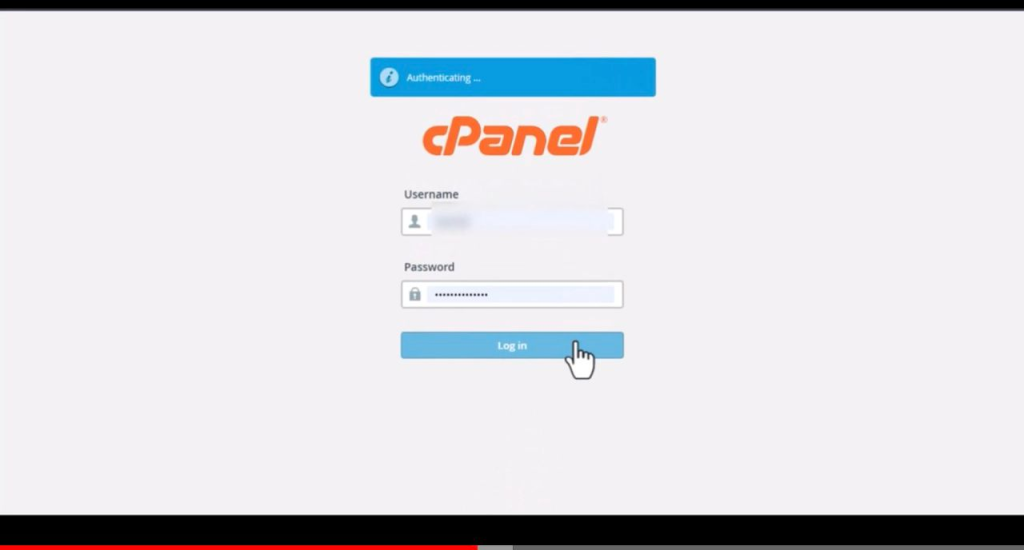
Log into Your Hosting Control Panel: Access your hosting account’s control panel (e.g., cPanel) using your username and password.

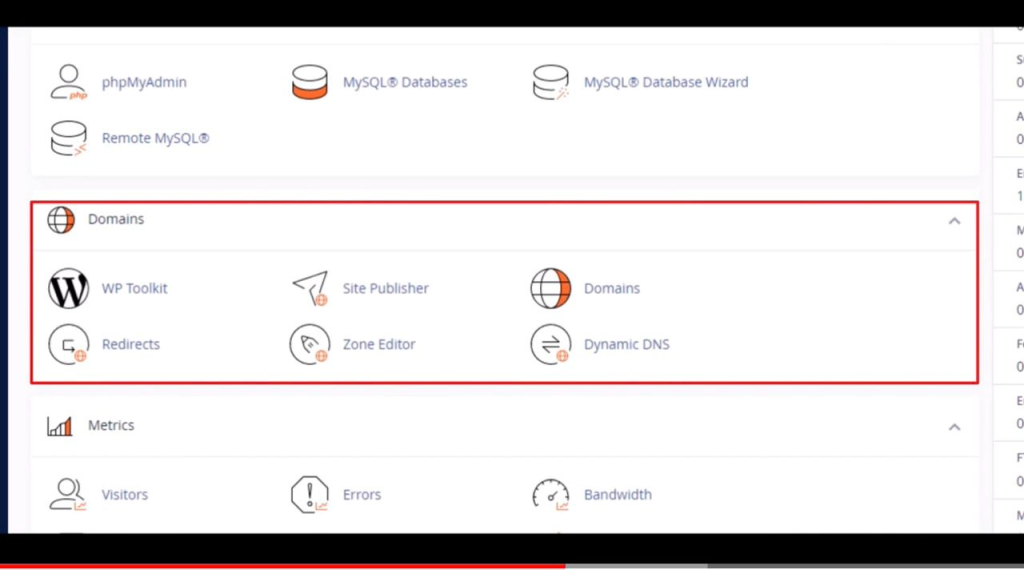
Locate the “Addon Domains” Section: In cPanel, look for the “Addon Domains” or “Domains” section. It’s usually located on the main dashboard or under a domain-related category.

Add the New Domain: Click on the “Addon Domains” or equivalent option.
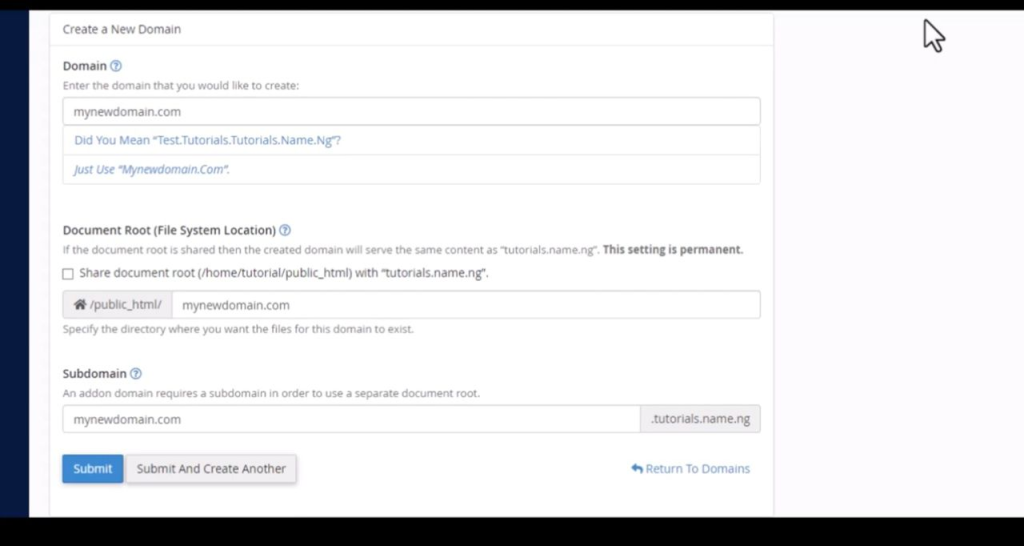
Fill in the Domain Details:
New Domain Name: Enter the domain name you want to add (e.g., example.com).
Subdomain: The system will automatically generate a subdomain for you, but you can change it if needed.
Document Root: This is the directory where the files for the new website will be stored. You can either accept the default or specify a custom directory.

Set FTP Details (Optional): You may need to configure FTP access for the addon domain. If prompted, enter the FTP username and password for this domain.
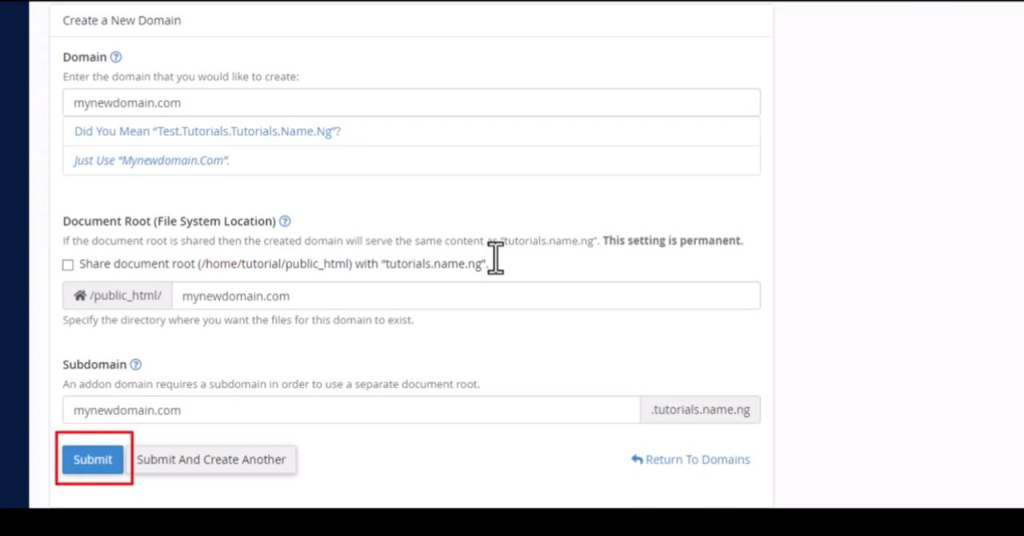
Click “submit”: Once you’ve filled in the domain details, click the “Add Domain” button.

DNS Configuration: You now need to configure the DNS for the addon domain. This typically involves updating the domain’s nameservers to point to your hosting provider. You can do this at your domain registrar’s website. Click to learn how to update the nameserver
Upload Website Files: Using an FTP client or the file manager in your hosting control panel, upload the website files for the addon domain to the specified directory (the document root you set in step 4).
Test the Website: Once the DNS has propagated (which can take up to 48 hours), you can access your addon domain using a web browser to make sure it’s working correctly.
Remember that these steps may vary depending on your hosting provider and the control panel they offer. Always refer to your hosting provider’s documentation or support resources for specific instructions.
Watch this video to guide you on how you can simply add an addon domain
