File Transfer Protocol (FTP) accounts are essential for efficiently managing website files, allowing secure file transfers between your computer and your web hosting account. cPanel, a widely used web hosting control panel, offers a straightforward process to create FTP accounts. In this comprehensive guide, we’ll walk you through the step-by-step process of creating FTP accounts within cPanel for seamless file management.
Understanding FTP Accounts in cPanel: FTP accounts enable users to upload, download, and manage files on their web hosting server. Each FTP account has its login credentials and access permissions, providing secure and controlled file transfer capabilities.
Here’s a step-by-step guide to create an FTP account:
Login to cPanel:
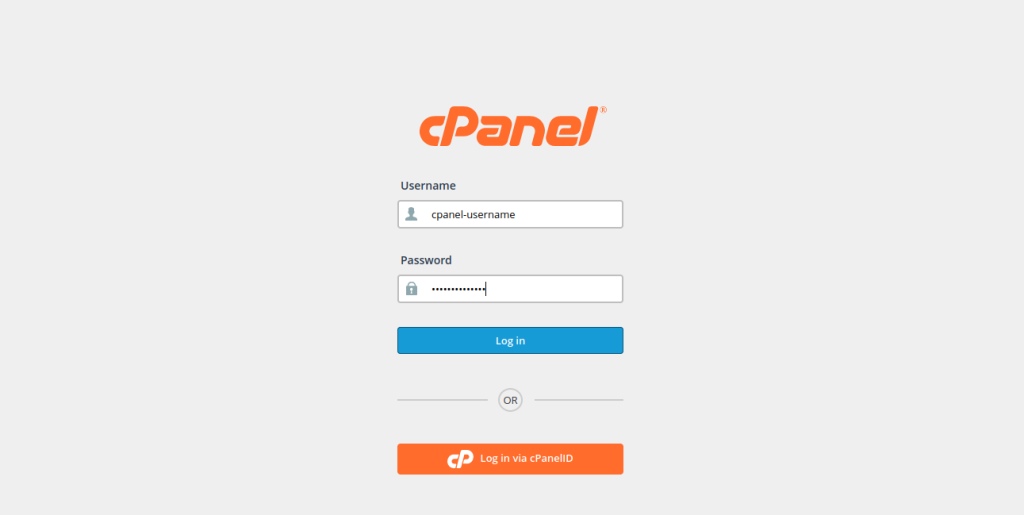
Open your web browser and go to
http://example.com/cpanel(replace “example.com” with your actual domain).Log in with your cPanel username and password.

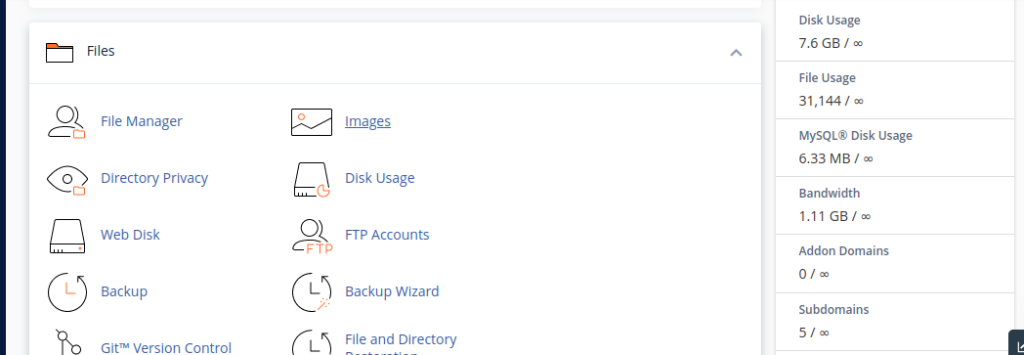
2. Navigate to FTP Accounts:
Look for the “Files” section in cPanel and find the “FTP Accounts” or “FTP Manager” option.

Create a New FTP Account:
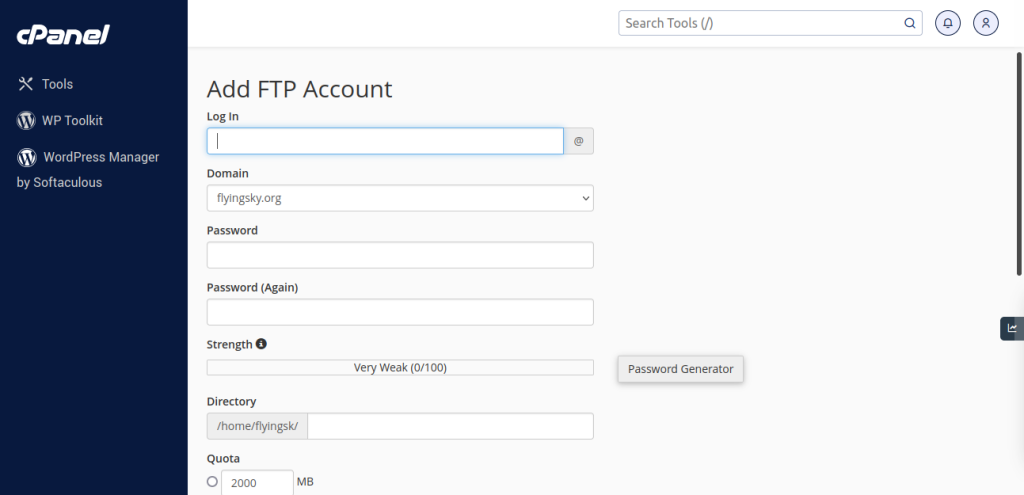
Once you’re in the FTP Accounts section, you’ll likely see a form for creating a new account.
Fill in the required information:
Login: Choose a username for the FTP account.
Password: Set a secure password for the FTP account.
Directory: Specify the directory the FTP account will have access to. You can set this to the root directory or a specific folder within your hosting account.
Quota: You can set a disk space quota for the FTP account (optional).
Configure Additional Settings (Optional):
Depending on your needs, you might have additional settings such as permissions and FTP session control. Adjust these settings as necessary.
Create the FTP Account:
Once you’ve filled in the required information, click on the “Create FTP Account” or a similar button to create the FTP account.

3. Verify the FTP Account:
After creation, you should see the newly created FTP account listed in the FTP Accounts section.
4. Use FTP Client to Connect:
To access your account via FTP, you’ll need an FTP client (e.g., FileZilla, WinSCP). Use the FTP client to connect to your domain using the FTP account credentials you just created.
Creating FTP accounts in cPanel is a straightforward process that enables users to manage their website files efficiently. By following these step-by-step instructions, you can easily generate FTP accounts with specific access permissions, ensuring secure and controlled file transfers between your computer and web hosting server.
cPanel’s intuitive interface simplifies the management of FTP accounts, allowing users to customize access levels and securely manage their website files. If you encounter any issues or require further assistance during the FTP account creation process, cPanel’s support resources or your hosting provider’s support team can provide guidance and assistance.
With the ability to create FTP accounts effortlessly in cPanel, users gain seamless control over their website’s file management, facilitating smoother website operations and updates.
